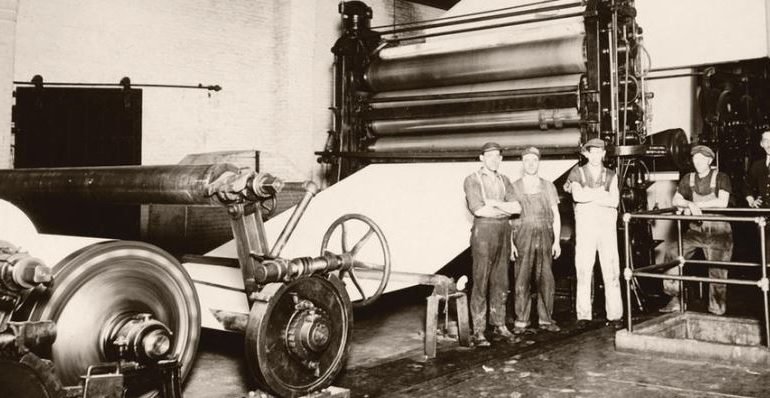
There are a number of steps involved in turning wood into pulp that could be classified as part of the paper making process, but this article is going to focus on how the stock or pulp mixture gets made into paper.
A paper machine is typically 10 – 25 feet wide and can range in length anywhere from half a football field (50 yards) to the full length (100 yards). The machine has two main components; a wet end and a dry end.
Step 1: The pulp mixture and water are spread across a forming fabric which resembles a large mesh screen on the front end, or wet end, of the paper machine.
Step 2: At this point, the pulp is 99.5 % water to 0.5 % pulp. Gravity, suction, and a mechanized vibration of the screen quickly begin to remove 20% of the water, much of which is re-used at the mill. Strict environmental guidelines are followed for the volume and quality.
Step 3: The next step on the wet end is the press section where even more water is removed. With the water still at 60%, the mix gets squeezed through large cloth wrapped cylinders called wet felts. It’s at this point in the paper making process that the product starts to get its smoothness and thickness.
Step 4: Once through the felts, the paper enters the dryer section. Here, it passes through steam heated dryers that leave the product with a moisture content of 2-6%.
Step 5: The next stop is the size press; at this point, a starch solution is applied to both sides of the sheet. If you have ever used starch while ironing your clothes, you can get an idea of what is happening to the paper. The starch solution enhances its ability to resist water and ink penetration during the offset printing process. This step of the paper making process also gives the paper the ability to receive toners and liquid inks used in various types of digital printing.
Step 6: As it passes through this process, big, heavy cylinders called the calendar stack await the roll that is forming. These cylinders apply pressure to the sheet to form the desired smoothness and caliper of the paper. The pressure on the calendar stack can be adjusted. More pressure yields smoother paper with less thickness.
Step 7: At the end of the machine, the paper is wound on a large reel called the winder. As the reel of paper goes to the winder, it is slit into manageable size rolls. There are two basic type of roll formats; one is a roll that is sized for a web printing press for sheet fed machines and the second format converts rolls to be used in a sheeting application to be cut and packed into cartons. The winder offers the ability to customize sheeter roll sizes to maximize the efficiency and limit waste.
Step 8: Each finished roll, carton, or skid is stamped with a run number. We often refer to the run number as the birth certificate of the product. The run number displays the date, time, paper machine and which part of the large reel the paper came from. This information allows mill personnel to review this information to troubleshoot any quality issues that might happen on a printing press.
A full winder reel’s worth of paper weighs 30 tons, or a truck and a half of paper. That 60,000 lbs. took about 45 minutes to make from the wet end to the winder.
For more information about this process, visit our Domtar Newsroom.


Discussion